Create captions
Add a caption layer, drag it over the part you want captioned, and let Brevidy transcribe and style it.
Brevidy adds a caption layer to your sequence, you drag it over what you want captioned, and Create transcribes the dialogue under it.
Before you start#
- Install Brevidy and sign in to the Brevidy panel. See Install Brevidy.
- A new account includes a free sample that captions up to 10 minutes of video. After that you need a trial or a plan. See Plans and features.
- Creating captions uses minutes for footage Brevidy hasn't transcribed before. See How minutes are counted.
Create captions#
- Open the sequence in Premiere's Timeline panel.
- Optional: press
IandOin the timeline to set In and Out points around the part you want captioned. - In the Brevidy panel, under
Create New, clickCaptions. Brevidy adds the caption layer, a clip on a video track (a row of the Premiere timeline). - Drag the caption layer, or its ends, so it covers the part you want captioned.
- Optional: open
Advancedto pick the preset your captions start with (Caption Style) or the language (Transcription). See Transcription and languages. - Click
Create. - If Brevidy asks, check the minutes estimate and click
Confirm. - Wait for the
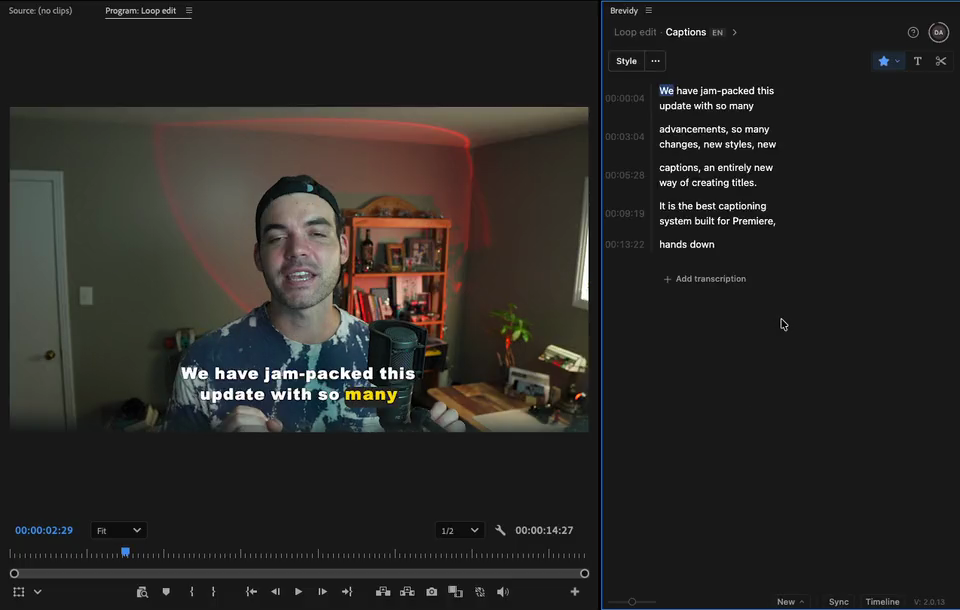
Transcribing...bar to finish. The transcript appears in the panel and the captions play in the Program Monitor (Premiere's video preview).
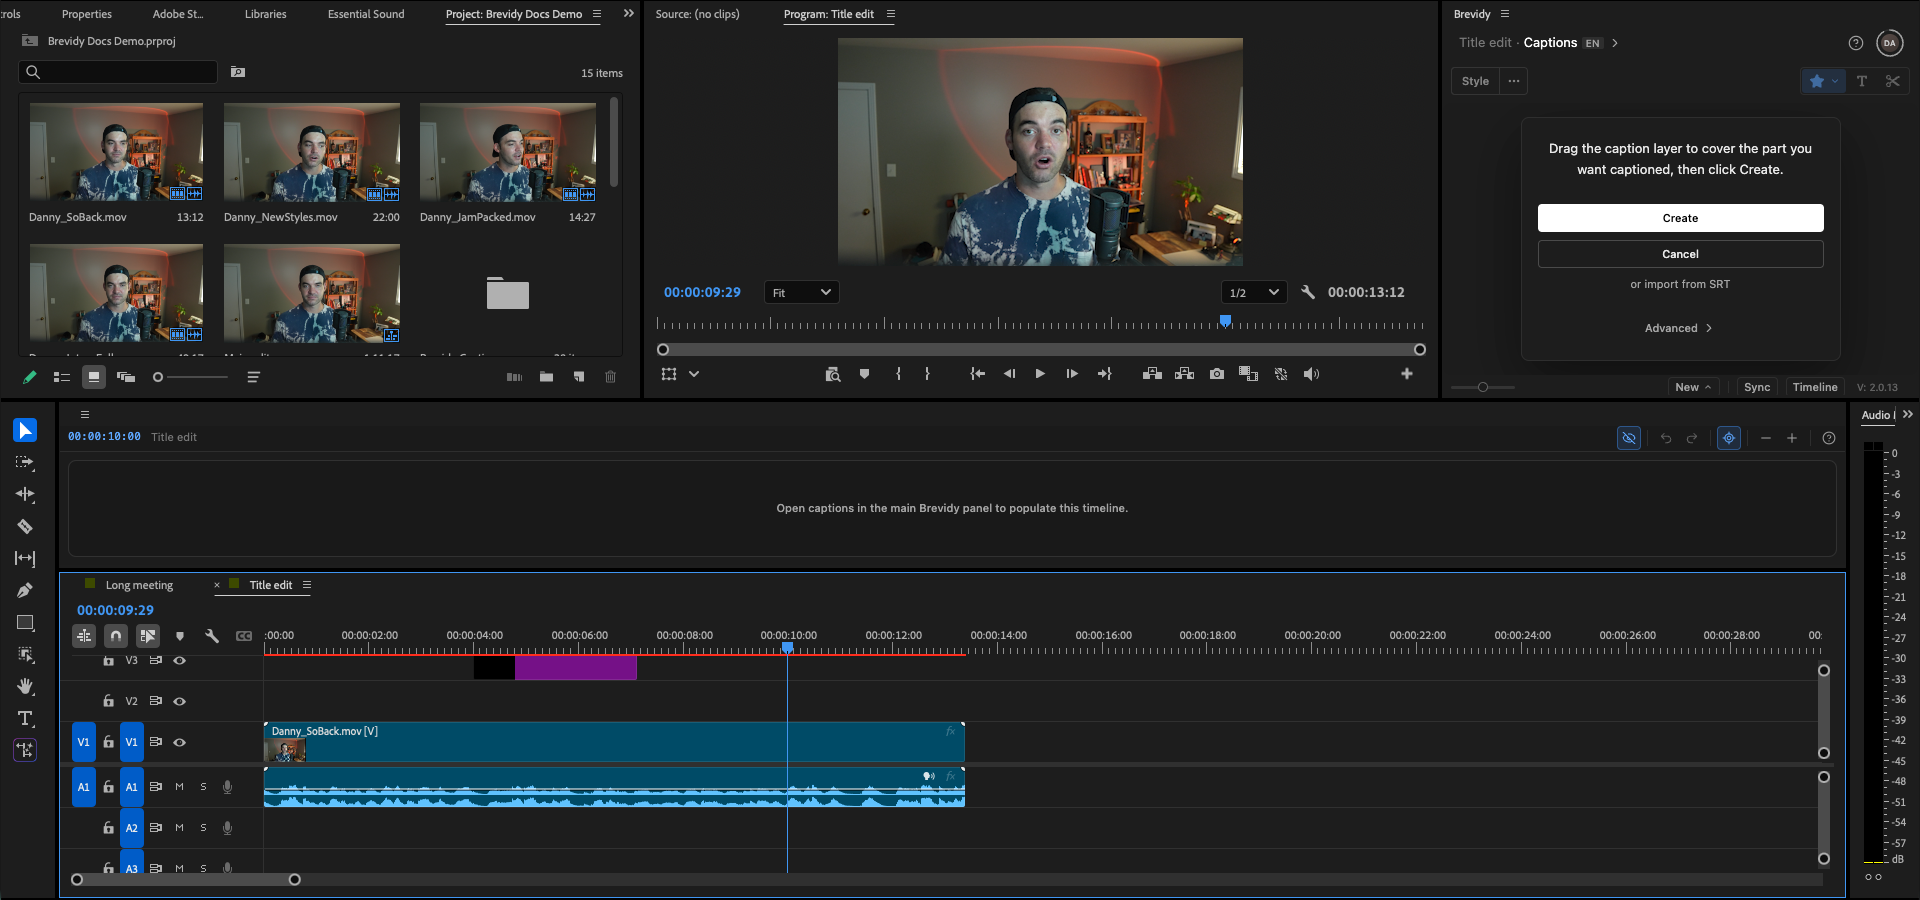
Brevidy places the layer over your In and Out points, or else over all the clips with audio. Check where it landed before you click Create.
To stop, click Cancel in the window or on the Transcribing... bar.
Have an SRT or WebVTT file already? Click or import from SRT under Cancel instead of Create. See Import captions.
What to do next#
- Fix words: click the Text tool (the
Ticon) and type in the transcript. See Edit words. - Change the line length or lines per block: open the Text tool's menu and set
CharsandLines. See Line breaks. - Change the look: click
Style. See The Style window. - Keep captions in sync: after you cut, trim or move clips, click
Sync. See Sync after editing. - Caption another part of the sequence: see Add more captions to a set.
How it works#
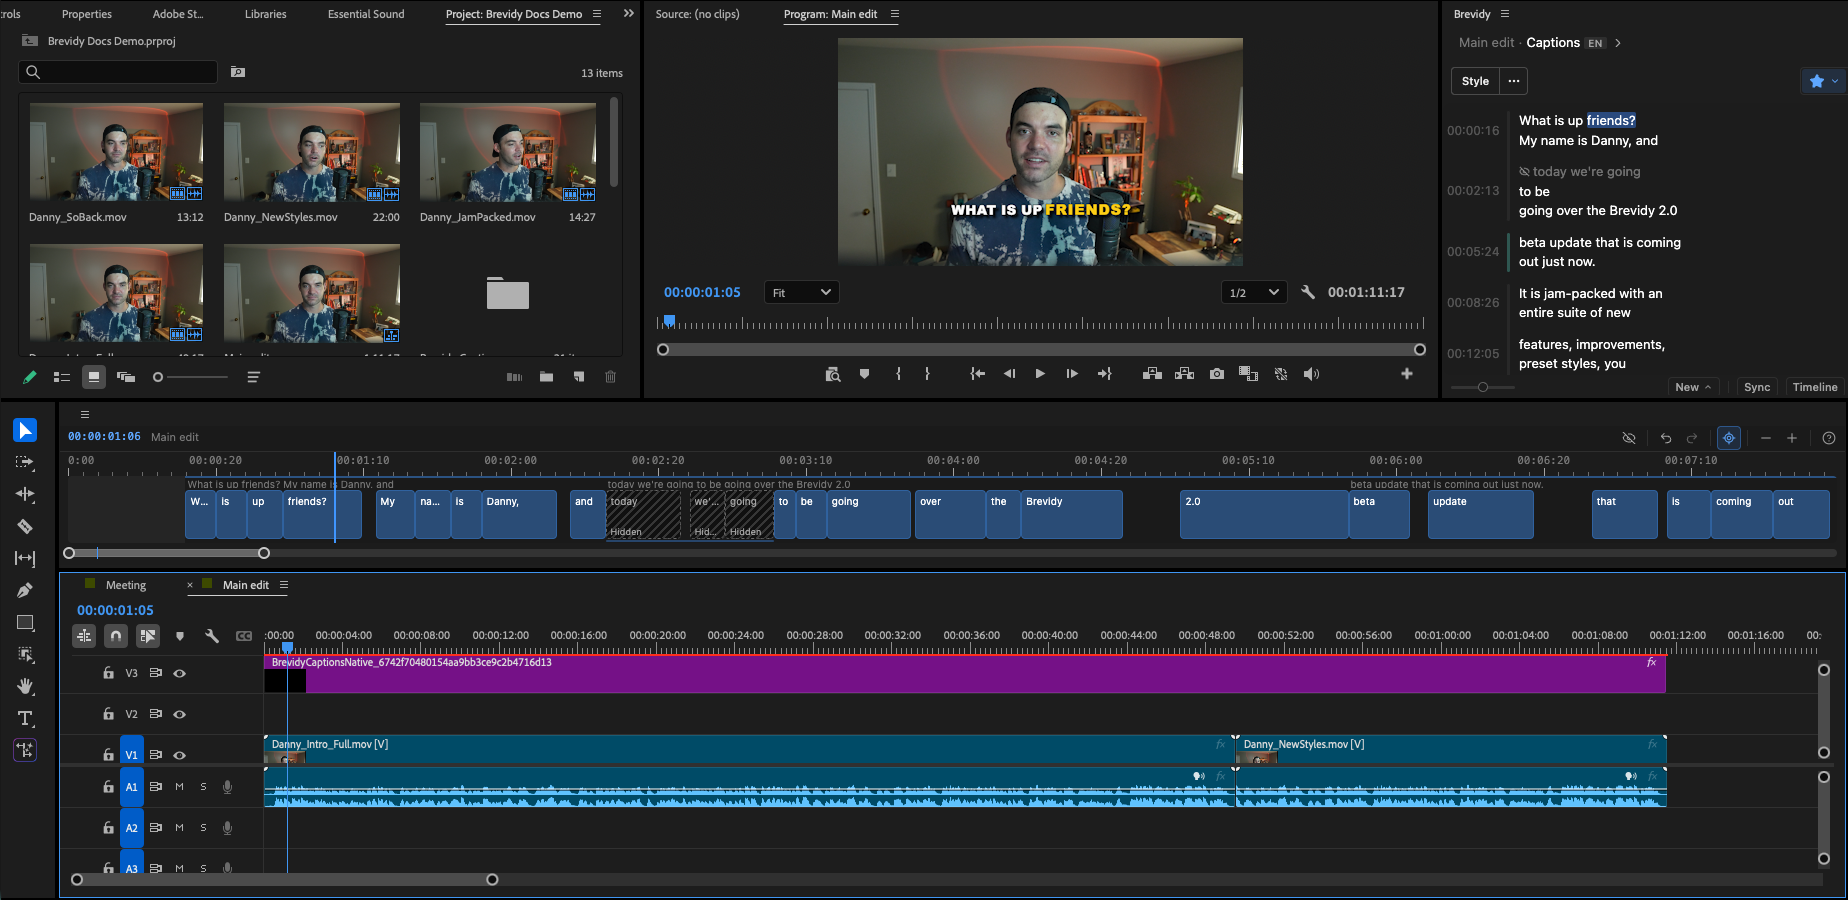
- The caption layer decides what shows. The clip is named
BrevidyCaptionsNative_plus an ID. Words appear only where it covers that moment. Trimming it hides words, it doesn't move them. - Transcripts are saved per media file on your computer. Sync and captioning the same footage in another sequence reuse them, so that footage costs no minutes.
- Style in the Brevidy panel. Premiere's Effect Controls panel shows no caption settings.
- Captions render without the panel, in exports and Media Encoder too, on any computer with the Brevidy Captions effect installed.
- Keep the
.brevidyfolder next to your.prprojfile. It holds your captions. See Where your captions are saved.
Good to know#
- The
Captionsbutton underCreate Newis only there on a sequence with no captions. On a sequence that already has captions, use+ Add transcriptionto caption more of it. See Add more captions to a set. - One run can send at most 120 minutes of audio. Caption part of a longer sequence, then add more captions for the rest.
- If captions made with Brevidy 1.9 are still visible, Brevidy warns you that both will show. See Upgrading from 1.9.
- If
Createsays the Brevidy Captions effect isn't loaded, restart Premiere. See "Failed to add Brevidy Captions effect".