Video editing can feel like swimming in an endless ocean of clips, layers, and version names like Final_FINAL_really_FINAL_v8.mp4.
It’s not just about fancy transitions, it’s about having a bulletproof workflow that saves time, reduces mistakes, and keeps your sanity intact. Here’s exactly how to build one whether you’re an indie filmmaker, a YouTube creator, or running a branded content channel.
Video editing workflow checklist
Before you even import that first clip, have a clear checklist. Trust me this alone shaves hours off your edit.
Basic Video Editing Workflow Checklist:
- Script and storyboard done (try Milanote)
- Footage backed up (3-2-1 rule: 3 copies, 2 media, 1 off-site)
- B-roll and music licensed and organized (check Artlist or Epidemic Sound)
- Project folders structured (more on this below)
- Editing timeline planned (rough cut → fine cut → color grading → audio mix → export)
Pro Tip: If you love seeing how others do it, the Video Editing Workflow subreddit is a goldmine for real-life tips and templates from working editors.
Film editing workflow: Think like a director
Editing a vlog and editing a short film aren’t the same but the core principles overlap:
- Rough Cut: Arrange scenes in order, trim obvious junk, focus on story.
- Fine Cut: Refine transitions, adjust pacing, add temp audio.
- Picture Lock: Finalize visuals before grading.
- Color Grading: Use tools like DaVinci Resolve for pro-level color work.
- Sound Mix: Balance dialogue, add effects, tweak levels.
- Master & Export: Render your masterpiece in multiple formats for YouTube, social, or cinema.
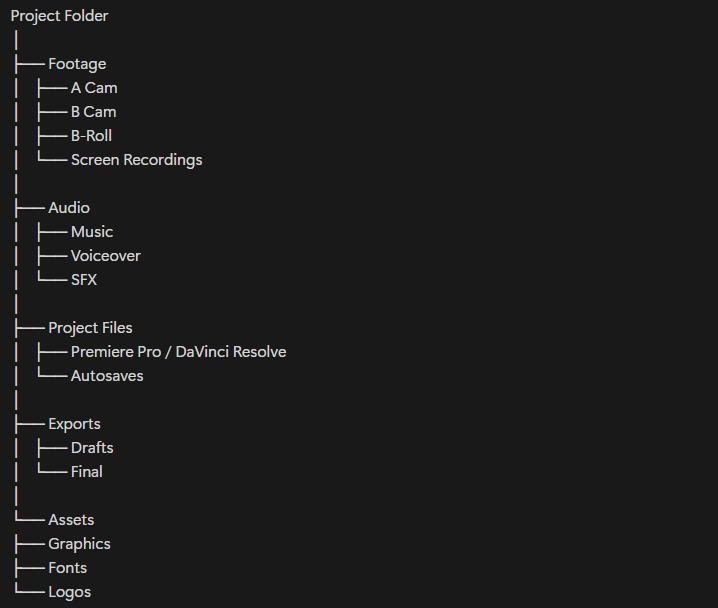
Video editing folder structure
Nothing slows you down like searching for IMG_9239.MOV in a pile of random files.
Here’s a simple, fail-proof folder structure:
Bonus: If you edit in teams, use a collaborative tool like Brevidy for Premiere Pro or Frame.io to share edits, get timestamped comments, and keep feedback organized.
How to make this workflow yours
Workflows are personal. Some editors swear by checklists; others rely on muscle memory. Test, tweak, and refine yours until it feels effortless.
A few extra time-savers:
- Use keyboard shortcuts (print a cheat sheet!)
- Create templates for titles, transitions, and export settings.
- Automate repetitive tasks (like syncing audio) — PluralEyes is amazing for this.
- Batch your edits: rough cut all scenes first, then polish.
Final thoughts
A solid workflow won’t magically make bad footage good but it will make you faster, calmer, and more professional.
So next time you open Premiere Pro, DaVinci Resolve, or Final Cut, you’ll spend less time searching for files and more time telling great stories.